Fly screens are a fantastic addition to any home, keeping bugs and debris out while letting fresh air in. But installing them can feel intimidating if you’ve never done it before.
The good news? With the right tools and a little guidance, anyone can get the job done! In this article, we’ll walk you through all the tools required for fly screen installation and provide a detailed guide to make the process simple and efficient.
Introduction to Fly Screen Installation
Are pesky bugs and dust ruining your indoor comfort? Installing a fly screen is a cost-effective solution to improve your living space. With a bit of effort and the right tools, you’ll be breathing easy (and bug-free!) in no time.
Why Proper Tools Matter
Imagine baking a cake without measuring cups. Sounds frustrating, right? Similarly, fly screen installation becomes a breeze when you have the right tools. Using the correct equipment ensures accuracy, saves time, and avoids damage to your windows or screens.
Basic Tools Required
Let’s start with the basics. Here are the essential tools every DIYer needs:
- Measuring Tape: Accuracy is key when sizing your screens.
- Utility Knife: For clean, precise cuts.
- Screwdriver: A versatile tool for fixing frames.
- Rubber Roller: Helps secure the mesh into the frame.
- Clamps: To hold the frame steady during assembly.
Specialized Tools for Advanced Fly Screens
For retractable or magnetic fly screens, you might need specialized tools:
- Spline Roller: Makes inserting the spline easier.
- Corner Joiners: For connecting aluminum frames.
- Drill Machine: For drilling holes in hard surfaces.
- Mitre Saw: Perfect for cutting aluminum frames at precise angles.
Step-by-Step Installation Process
Installing a fly screen involves several steps:
- Measure Your Window Frame: Use a measuring tape to determine the size of your screen.
- Cut the Frame and Mesh: A utility knife or mitre saw will help here.
- Assemble the Frame: Use corner joiners and clamps for a secure fit.
- Insert the Mesh: Secure it with a spline roller.
- Fix the Screen to the Window: Fasten the frame using screws or magnetic strips.
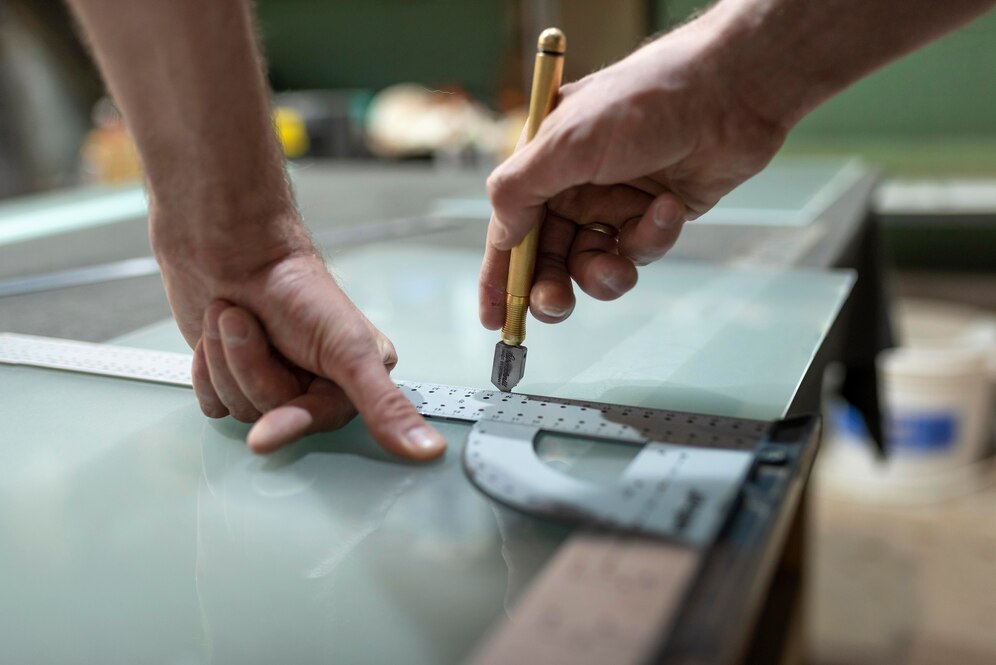
Measuring and Cutting Tools
Accurate measurement and cutting are the foundation of a perfect fit. Here’s what you’ll need:
- Straight Edge Ruler: For marking straight lines.
- Chalk Marker: Makes measurements visible on darker materials.
- Precision Cutting Tool: Ensures clean edges without fraying.
Fastening Tools
Secure installation requires strong fastening tools.
These include:
- Cordless Drill: Ideal for screwing frames into place.
- Staple Gun: For securing the mesh to wooden frames.
- Adhesive Strips: A no-drill option for temporary setups.
Sealing and Finishing Tools
Don’t forget the finishing touches! These tools help keep your screen secure and visually appealing:
- Caulking Gun: To seal gaps between the frame and the wall.
- Paintbrush: For touching up frames.
- File: Smooths out sharp edges to prevent injuries.
Troubleshooting During Installation
What if the screen doesn’t fit perfectly? Don’t panic! Here are some tips:
- Mesh Too Loose: Use a spline roller to tighten it.
- Frame Misalignment: Adjust with clamps before fastening.
- Gaps Around the Frame: Fill them with caulking.
Safety Tips While Installing Fly Screens
Safety should always come first:
- Wear gloves to avoid cuts.
- Use safety goggles when cutting metal frames.
- Ensure ladders are stable if you’re installing screens on upper floors.
How to Maintain Your Tools
Good tools last longer with proper care:
- Clean Regularly: Remove dirt and debris after each use.
- Store Properly: Keep tools in a dry, secure location.
- Sharpen Blades: Dull knives can ruin your mesh.
DIY vs Professional Installation
Not sure whether to DIY or call a pro?
Here’s a quick comparison:
- DIY Pros: Cost-effective and rewarding.
- DIY Cons: Requires time and effort.
- Professional Pros: Ensures precision and quality.
- Professional Cons: Can be expensive.
Common Mistakes to Avoid
Avoid these pitfalls for a smoother installation:
- Skipping Measurements: Leads to ill-fitting screens.
- Using the Wrong Tools: Can damage frames or mesh.
- Rushing the Process: Results in poor-quality work.
Cost-Effective Tool Kits
Tool kits specifically designed for fly screen installation are available and often include:
- A spline roller.
- Corner joiners.
- Measuring tools.
- A utility knife.
These kits save money compared to buying tools individually.
Conclusion
Installing a fly screen doesn’t have to be daunting. With the tools required for fly screen installation and the right approach, you can create a comfortable, bug-free environment. Whether you choose to DIY or hire a professional, the key lies in preparation and attention to detail.
FAQs
1. What tools do I need to install a fly screen?
You’ll need basic tools like a measuring tape, utility knife, screwdriver, clamps, and specialized tools like a spline roller for advanced setups.
2. Can I install a fly screen without drilling?
Yes, adhesive strips and magnetic frames offer no-drill options for temporary installations.
3. How do I ensure my fly screen fits perfectly?
Accurate measurements and proper cutting tools are essential for a snug fit.
4. Are there tool kits specifically for fly screen installation?
Yes, many brands offer kits with all necessary tools, making the process easier for DIY enthusiasts.
5. Is it better to hire a professional for fly screen installation?
It depends on your skill level and time. Professionals ensure quality but DIY can be more cost-effective.